 Canada
 South Africa
 UK
UK EU & Int
 Ireland
 Australia
 Brazil
 New Zealand
DIY Baby Toys: Simple Projects to Make at Home

Creating DIY baby toys is a fun and affordable way to provide your little one with engaging and safe playthings while also sparking your creativity. Homemade toys can be customized to suit your baby’s developmental stage, interests, and needs. Here are some simple projects that you can make at home to keep your tot entertained and stimulated.
1. Sensory Bottles
Sensory bottles are easy to make and can captivate your baby’s attention with their visual and auditory appeal. To create a sensory bottle, you’ll need a clear plastic bottle, water, and a variety of small items like glitter, beads, or small plastic toys.
Instructions:
1. Clean and dry the bottle thoroughly.
2. Fill the bottle with water, leaving some space at the top.
3. Add your chosen items.
4. Seal the lid tightly with super glue or hot glue to prevent leaks.
Shake the bottle to see the items move around and capture your baby’s curiosity. Another option is to do a dry sensory bottle without water. Simply fill the bottle with dry, uncooked rice, beans or pasta and use it as a shaker.
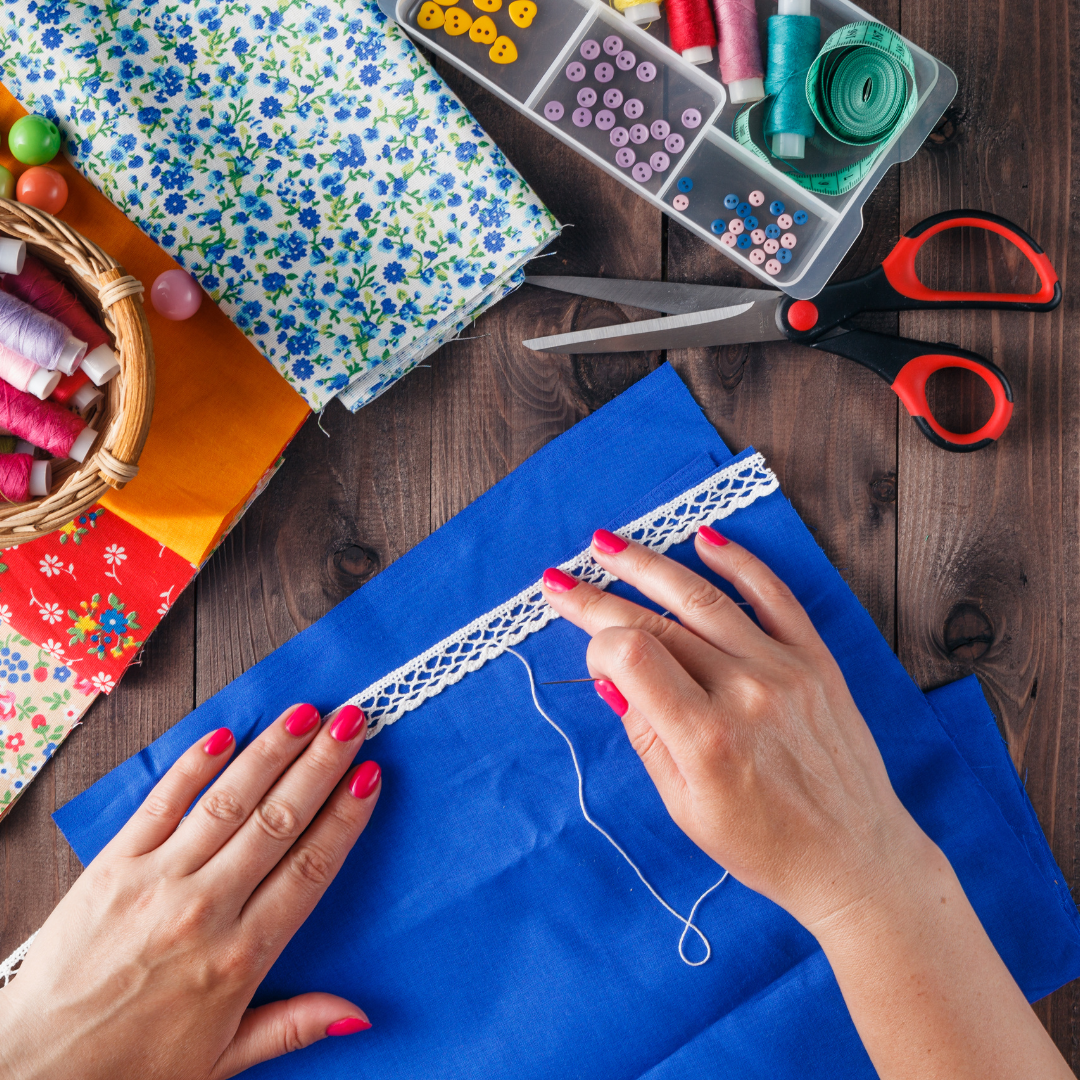
2. Fabric Tag Toys
Babies love exploring different textures, and fabric tag toys are perfect for this. You can use various fabric scraps and ribbons to create a soft, tactile toy.
Instructions:
1. Cut two pieces of fabric into equal squares or rectangles.
2. Cut several pieces of ribbon into short lengths.
3. Place the fabric pieces together with the right sides facing inward.
4. Insert the ribbons between the fabric pieces, with the ends sticking out.
5. Sew around the edges, leaving a small opening.
6. Turn the toy right side out and stitch the opening closed.
Your baby will enjoy the different textures and tags to grab and chew.
3. Cardboard Box Playhouse
A cardboard box can become a delightful playhouse for your older baby, sparking imagination and providing endless entertainment.
Instructions:
1. Find a large, sturdy cardboard box.
2. Cut out windows and a door using a utility knife (ensure to make smooth edges).
3. Decorate the box with non-toxic paint, markers, or stickers.
This simple playhouse can be a fun space for your baby to explore and play peek-a-boo. Great for those active crawlers!
4. No-Sew Sock Puppets
Sock puppets are a classic and simple DIY toy that can provide hours of fun and interaction.
Instructions:
1. Find an old, clean sock.
2. Use fabric markers to draw a face on the sock.
3. Add embellishments like yarn for hair, felt for ears, or buttons for eyes, using fabric glue.
Slip the puppet on your hand and create stories and characters to entertain your baby.
5. Wooden Block Puzzles
If you have some basic woodworking tools, you can create simple wooden block puzzles that are both durable and educational.
Instructions:
1. Cut a piece of wood into small, equal-sized blocks.
2. Sand the edges to make them smooth and safe for your baby.
3. Paint or draw simple shapes, letters, or numbers on each block with non-toxic paint.
These blocks can be used to teach your baby about shapes, colors, and basic counting.
6. Crinkle Paper Toy
Babies love the sound and feel of crinkly paper, and making a crinkle toy is straightforward.
Instructions:
1. Cut two pieces of fabric into equal shapes.
2. Place a piece of crinkle paper (like a cereal bag or chip bag) between the fabric pieces.
3. Sew around the edges, leaving a small opening.
4. Turn the toy right side out and stitch the opening closed.
The crinkle sound will delight your baby and encourage sensory exploration.
DIY baby toys are a fantastic way to provide your baby with personalized, safe, and stimulating experiences. These simple projects can be made with materials you likely already have at home, making them both economical and environmentally friendly. Plus, creating these toys can be a fun and rewarding activity for parents. So, gather your supplies and start crafting toys that your baby will love and cherish.

About the Author

Related Posts

The Importance of Mom Friends

The Colic Survival Guide - Everything You Need to Know


Multivitamins for Babies

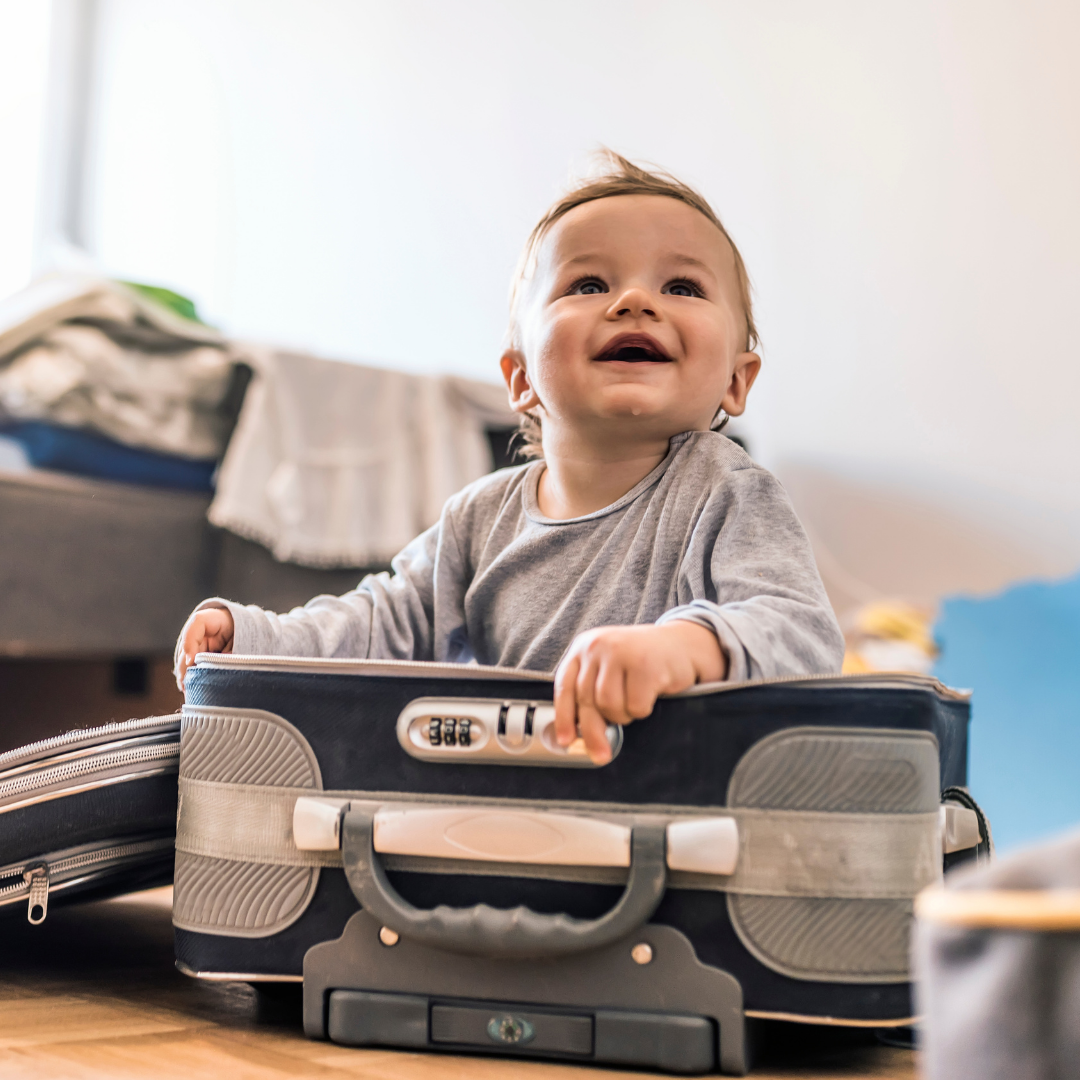
21 Essentials to Pack in Your Hospital Bag


Comments